Friday, March 24, 2017

A Cheerful 'Create' Banner

I really wanted a cheerful banner that I can hang on my booth at craft fairs and that can come with me when I teach my classes to inspire folks to play with color and have fun.
This banner certainly brings a smile to my face...hope it makes you smile too!
I started off with the C-R-E-A-T-E Dovetail Banner

I prepped it with a coat of gesso...


Then painted the letters and the back pieces black. I also cut all the papers for the front pieces, gave them a light sanding around the edges and inked the edges to make them appear a little bit aged and make the colors pop a bit.


I used washi tape at the top of each card and cut pieces to fit the bottom of the dovetails. You can see where I began to apply the tape on the top of the green card in the photo above. And in the picture below I was able to cut the tape at a 45 degree angle at the center join by lining up the center of the card on my cutting mat, centering a ruler down the tape and ripping each side of the tape up the center, creating a (fairly) tidy seam.

 I glued the top card on to the bottom one and allowed them to dry. To attach the banner pieces to the ribbon, I lined up the ribbon on my cutting mat, place the banner piece directly below the position I wanted it to be on the ribbon and used that as a guide for the glue I applied to the ribbon, assuring the right width of glue for each piece in the correct position.

 I decided at this point that I wanted more orange on the pieces so I added some sparkly orange ribbon to the top and the bottom of each piece.
 I cut some sunflowers from Graphic 45's French Country paper, cut them in half and glued them to the tops of the banner pieces. I added white dots to the letters using a white poster paint marker.


Oh, and I punched holes in the points of the dovetails and added cute little pink tassles that I scored at a dollar store. I love that they even came with their own little clasps!
I added some glitter to the sunflowers and voila! A cheerful inspiring banner with one of my favorite words on it!
Supply List
C-R-E-A-T-E Dovetail Banner

Other supplies
Pink velvet ribbon
Orange glittery ribbon
Washi Tape
Scrapbook Paper
Graphic 45 French Country Paper (for the sunflowers)
Pink tassles
Stickles (Yellow)
Gesso
Acrylic paint
White poster paint marker


Tuesday, March 21, 2017

What Would Jane Do?

Jane Austen, one of my favorite authors. A great story teller and very pithy as well. I see her as the very proper, mannerly Dorothy Parker of her time. She wore velvet gloves and pretty dresses, but I'm not fooled...she was witty and sharp as a tack. It's a good thing she was a proper lady, because I get the impression that Miss Jane did not suffer fools.
There is a book out called "What Would Jane Do?: Quips and Wisdom from Jane Austen" that inspired this piece. And Jane herself, of course!

What would Jane do in a difficult situation? Would she put the kettle on? Be politely sympathetic to a gossipy old busybody?

Or would she give the hornets nest a ladylike shove?

I think the answer to that is that Jane would do both!

I started of this project with the Square Shrine Gatefold and taped the pieces together using Linen Book Binding tape.
I made sure there was at least a generous quarter inch space between the pieces in order to accommodate both the fold and the thickness of the die-cut pieces I used inside. I tested it out before I made anything permanent.

I wanted the inside to be reminiscent of a wallpapered room with wainscot, so I chose two complimentary papers.
Though the center piece is higher than the side pieces, I made sure that the bottom striped paper was level all the way across all three pieces. I glued all my papers down front and back.
I cut two images from my collage sheet of Jane that fit into the Flourished Frame-Elizabeth (coming soon) And glued them to a piece of cardboard I cut to fit the inside of the frame.
I used components from the Tea Time Shape and Border Set on both sides of the Gatefold, painting them white and giving them a little shadow and detail to add a bit of dimension.
I couldn't resist covering the teapot with pink polka dots...so cute!
 I also used the Victorian Corners 2 as details under the spoons. I cut the ends off of both to accommodate the What Would Jane Do plaque as I had a spot of trouble getting it to stay flat!
I also used a poster paint marker in white to add little dots and details to the piece. So fun to think of Jane and all the wonderful hours of reading i have had with her. Now I'm off to have a cuppa!

Supplies:
Square Shrine Gatefold
 Tea Time Shape and Border Set
 Victorian Corners 2

Other Supplies:
Graphic 45 6x6 Patterns and Solids from Botanical Tea
White Poster Paint Marker
Collage sheets from Sandy Gordon (Art Tea Life)
White and Pink Acrylic Paint


Saturday, March 18, 2017

The Seraglio or Thinking about Mary Stewart

There might be one or two of you out there who made the leap after you read the above title. Mary, Lady Stewart, was once (and still is in my opinion) the queen of the romantic suspense novel.
She wrote many, many books including the famous Merlin series and some children's books as well, but my favorites were always the lyrical tales of mystery and suspense she wove around an adventurous woman who found herself in peculiar circumstances who never ran for the hills unless that was where the trouble was.
Curious and lively, smart and humble, she was well bred and polite, but never a snob. Those books were always good reads and I still pick them up from time to time and feel as if I'm with an old friend.
One of them called, "The Gabriel Hounds" was set quite a bit in an old, nearly empty palace that contained within it's walls a seraglio, or harem. That novel and the seraglio was the inspiration for this piece.
The story is set in the 1960's and I like how contemporary and modern this young lady looks against the timeless background of trellis work and dark 'sky'.


I began with some fantastic supplies from Alpha Stamps, starting with the Taj Mahal Triptych which I taped together (front and back) to make one rigid piece.


I traced and cut my papers out for the front and back and glued them in place. I painted the 6x6 Quatrefoil Texture Sheet white and cut it at a slant and glued it to my front paper.


After painting the pillars white (they are part of the Taj Mahal Triptych) I glued them in place.


It was after the pillars dried that I decided (of course!) to add some blue to the purple paper to make it look a bit more like the night sky. You might want to do this next step before you glue down those pesky pillars. Otherwise you may be doing some touch ups with the white acrylic paint.
Just sayin'.
I wanted to add some blue to the sky, but I didn't want to cover up the stars or disappear all of the purple, so I mixed a very small amount of Phthalo Blue with some glaze.


It doesn't take much paint, just a dab, and a bit larger amount of glaze. I just dipped my brush into the paint and then mixed that into the puddle of glaze. A little color goes a long way with the glaze, so be sparing.


I painted the mixture on the paper starting from the top using a downward stroke. What is on the brush will naturally lighten up as you move down and you won't have to fuss with blending it. It helps if you practice on a piece of scrap before you commit to the piece!


You know you have the right ratio of paint to glaze when you can see the color and patterns through mixture.

While the glaze dried, I cut out my image from the Vaguely Valentine Collage Sheet and lots of flowers from the Midnight Masquerade Scrapbook Papers.


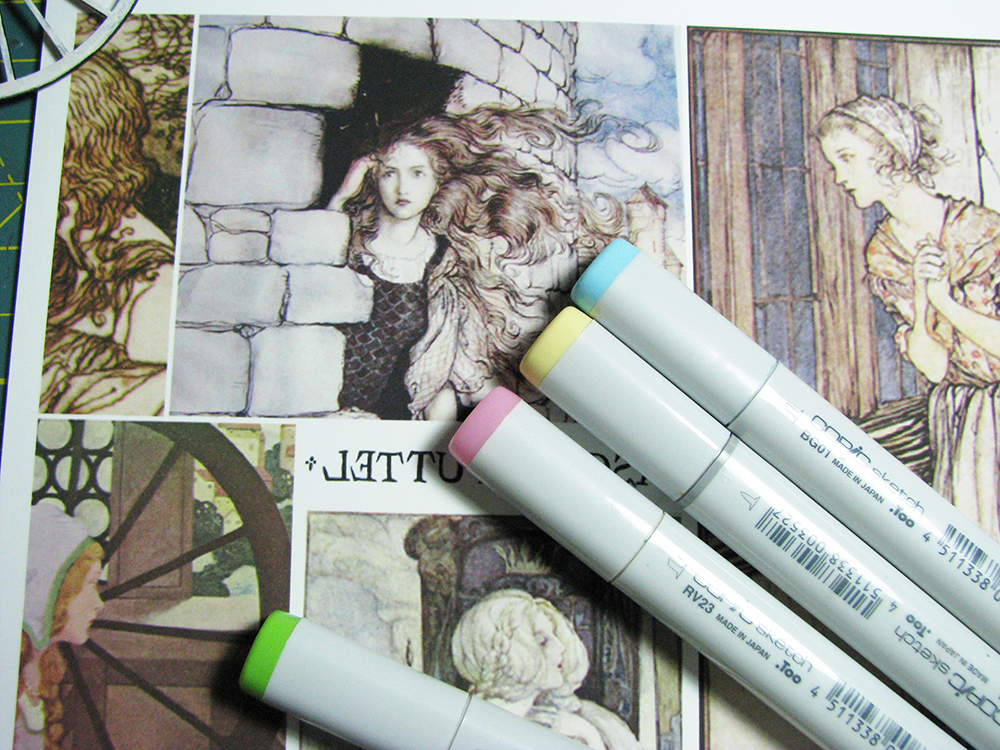
I used a couple of Copic markers to 'pop' my young ladies dress and to give her more of a visual connection with the flowers. I used foam tape to attach my girl and the flowers and the word 'Dreamer' to give them extra dimension.


On the back side, I glued a ribbon on to hang the piece with and a pretty image from Midnight Masquerade Music Makers Scrapbook Paper to finish it off.

So there you have it. Lots of goodies were provided by the wonderful Alpha Stamps and the inspiration to Mary Stewart and her wonderful novels. Thanks, Lady!

Supplies List
Taj Mahal Triptych
Vaguely Valentine Collage Sheet
Midnight Masquerade Savor the Magic Scrapbook Paper (the 'Dreamer' tag and most of the cut out flowers)
Midnight Masquerade Moonlight Mystery Scrapbook Paper (on the back)
Midnight Masquerade Romantic Rondezvous Scrapbook Paper (front)
6x6 Quatrefoil Texture Sheet


Other:
White Acrylic Paint
Liquitex Glaze Medium
Liquitex Phthalo Blue Acrylic Paint


Thank you for stopping by!

Tuesday, March 7, 2017

A Small Book of Butterflies

When I saw this tiny, cute little Shaped Edge Micro Mini album, I knew I had to play with it. About the same time, I was given Prima's Forever Green 6x6 paper pad and everything fell into place. Love all the tiny butterflies and illustrations in the pad and it turns out to be perfect for the wee album that was forming itself in my head.
This was a pretty straight forward project. I started out painting the back of the album pieces with black acrylic paint. And cut all the paper backgrounds I needed for each page, front and back.
 I played with the papers, cutting out the images that appealed to me and looked about the right size. I'm not sure how it happened, but the ladies wanted to get in on the act......
I started composing the pages, playing with the shapes and when things fell into place the gluing began!
After things dried, I began embellishing, first with a Sharpie paint pen. I used the poster paint one as it dries very quickly. (and everyone knows I have no patience!)
I love the contrast of the black backgrounds and the white dots.
I added little touches of metal findings and a bit of sparkle with some Swarovski flat back crystals.
One of the ladies looking quite fetching with her orange butterfly.....
I also used a black permanent marker to make contrasting dots on some of the lighter papers as you can see above on right hand page.

The Punch Elements Deco labels were a fun addition and adding some micro beads to the page gave it extra dimension.


These ladies just keep fluttering by.

Supply List
Shaped Edge Micro Mini Album
Punch Elements Deco Set

Additional Supplies
Black acrylic paint
Binder rings
Metal findings
Dresden Trim
White Sharpie paint marker
Swarovski flat back crystals

Thank you for dropping by!


Wednesday, March 1, 2017

It's all about the shoes........

Poor Cinderella. What bad luck she's had. Losing her father at a young age. Growing up with a wicked stepmother and two nasty step sisters, forced into being a scullery maid in her own house, making a beautiful dress and having it torn off her body by those two jealous, mean old steps of hers.
And the girl was rocking the most awesome pair of shoes in fairy tale history and she goes and loses one running down the steps at the royal palace! That is harsh.
She does end up okay in the end.
She gets her shoe back.
That is the important thing, right?


This was a fun project with most of the supplies provided by the awesomeness that is Alpha Stamps!
Loved the beautiful papers that were in the Cinderella Kit. The one on the Cinderella Coach Album is called Serendipity Anticipation Scrapbook Paper and I used the paler side, inking the edges to give more contrast. The black escutcheon-y thing on the door (and parts of the same piece cut and placed under the windows) is part of the Stackable Labels Die-Cut Set that I painted black and used Liquid Pearls-Gold Pearl to pipe on some little Fleur-de-lis and embellishments.


I used the Cinderella Pining Collage Sheet for the image of Cinders hanging out the window pining for her lost shoe. She really isn't thinking about the prince.
Those shoes were epic.

I've had a couple of questions recently about Copic Markers and how I sue them and thought this would be a good opportunity to demo adding color to a collage sheet to pump it up a bit when a little extra oomph is needed.

I got the digital download from Alpha Stamps of the Cinderella Pining Collage Sheet (see link above) and enlarged it by about 30%. I also reversed it as I wanted Cinders to look out the right side window, but she looks great on either side.
In the picture below, you can see the difference between the two images.
I used five colors on the image ( the picture only shows four because I was distracted by a kitty and didn't notice the other pink was missing)

In the next picture, I've partially colored in the hair, the body of the dress and the sleeve so you can see the difference.


The last picture is of the completed coloration of the image and an added dash of sparkle to the pink sleeve. I added a dot of blue to each eye and some pink to her lips.

After the Stickles dried, I cut the image out and fitted her into her window and voila!

For a link to all the supplies used from Alpha Stamps, click HERE.

Supplies:

Cinderella Coach Album
Cinderella Pining Collage Sheet
Serendipity Anticipation Scrapbook Paper (the pale side))
Stackable Labels Die-Cut Set
Liquid Pearls-White Opal
Liquid Pearls-Gold
8mm White Pearls
Tiny Embossed Gold Dresden Borders
8mm Looped Bead Caps-antiqued
India Ink Stamp Pad
Diamond Stickles
Various Copic Markers

Other:
Dresden Garland
White Acrylic Paint
Black Acrylic Paint
Stamped Brass Flower (coach wheels)

Thank you for stopping by!