Friday, April 24, 2020

Toilet Paper Roll Night Lights!

What do you do on what feels like day 750 of quarantine? You make toilet paper roll night lights and put a little glow out into the world.
Hello all my wonderful Make and Take ladies! I sure have missed seeing you all.
In lieu of us all gathering together I have made this picture tutorial of a craft that just makes me smile. I hope it does the same for you.
I love all of you and can't wait to see you in person again.
Okay, let's do this!!


This is a fun and super easy way to upcycle something that we all have in our house and a nice way to use up bits and scraps of ribbon and whatever else you want to embellish your loverly toilet roll.

The basic things you need to make this craft.....

1) A toilet paper roll
2) A sheet of craft paper (you can use copy paper if that is what you have)
3) White paint
4) Black paint
5) Glue (Elmer's, Aleene's or any white glue will do)
6) A battery tea light
7) Bits of ribbon and silk or paper flowers (All the ribbon came from WalMart and the flowers were left over from another project. Most of us have a few silk flowers somewhere in the house...don't be shy about using large ones if that's what you've got. They look adorable!)
8) Black Marker (I used a Sharpie)
9) Scissors

Yay! Let's play with crafty stuff! Here we go........

Toilet paper rolls. Or paper towel rolls you can cut to the heights you want. If you've got 'em use 'em!
Draw windows on your wee TP Tower of Power with your black marker. Use a pencil if you need to practice
Cut the windows out with a pair of sharp scissors. (If you are doing this with a child, you might want to do this bit for them.)
 Give it a coat or two of white paint- I did two coats. Set aside and let it dry.
NOTE:
I used wax paper I taped down to my work surface and poured a small amount of paint directly on the wax paper. It saves a lot of clean up!
Okay moving on...
When the paint is dry, put a dab of black paint on your wax paper and paint around the inside edges of your windows and paint little frames/window sills around each one.
You can use your marker for this bit if that is more comfortable.
Next step might look weird, but it makes a big difference.
Take your marker or you paint brush of black paint and paint along the bottom edge (the base) of your tower.
Doing this will fill in any bits of white that might show after you add you ribbon and you don't have to go in afterwards and try to fill in the white bits.
It doesn't have to be super tidy, just do your best to make it neat and just a thin lie at the very bottom. Set it aside for the moment.
Have a piece of chocolate!
Or maybe a couple slices of apple and some cheese.
That is so perky.
 Next we are going to work on the little roof and the base.
First the roof. make a pointy little cone by doing this.....
Draw a circle that is 2 1/4 and cut a quarter-size slice of pie out of it. Graph paper helps, but you can eyeball it or use the bottom of something round as a template.
Like this.....

Put a thin line of glue down one side of the 'pie slice' and bend the other side to meet it to form a cone. Use a paper clip to hold it together until it dries.


 Next step.....paint the roof and the base black and let them dry.
Now comes the SUPER FUN PARTS!
Oh, how I love embellishing things.
All my Make and Take ladies know how this part works.
There isn't really a plan to this. I sort of compose what I think looks nice out of the scraps of ribbon and flowery bits I hunted around for and play around with how they look on the pieces before I glue anything down.
Then I start sticking stuff down. I start with the ribbon on the base of the tower and then painted and decorated the wee roof.

 I DID NOT glue the roof on the tower. That come a bit later. If you painted dots or stripes on your roof, let that dry before you put on flowers or beads or fringe or anything else. Paint first. Let it dry. Add embellishments and details.
 It's also easier to add details to your tower before you glue the roof on, but I kind of did both as I wanted to add more (like the flowers I drew).
All the details that are on the tower, the arches and decorative stuff around the windows I did with a Sharpie marker
When you have your tower detailed the way you like it, glue the roof on by applying glue around the top edge your tower and pop the roof on taking care to make sure the roof isn't on wonky unless that is what you want, then go for it!
And you are essentially finished. You don't want to glue the base to your tower or you won't be able to turn your tea light on and off. You can, however, glue the base to the top of something fun like a little candlestick (see picture below) or anything else you think is fun or you happen to have on hand.
Once you get one of these under your crafty belt, you can make a million variations, so use your imagination and craft something uniquely you!

EXTRA
Here's a quick flower to draw step-by-step.


Thank you so very much for visiting!


Tuesday, April 21, 2020

Archtop House Diptych

A bit spring, a little forest. Simple and pretty and easy on the eye. A wee diptych just for you.....

And the back....

For anyone who would like to see the detailed tutorial on how to put together these cute ArchTop House Silhouettes, click HERE.
 This is a pretty straight forward project that most of that tutorial covers. The little extra thing here was I used the Tiny Shingles Sampler Set including the scrap in between bits to embellish the piece.
I gave them a coat of gesso and then painted them green.
I also used a paint marker to do the dot details on both sides of the piece.
And a fun thing I discovered. The scrap bit between the pointed shingles bends really easily so you can arch it and even use it for tiny little bunting on another project, so don't throw it away!
Another tip...I use wax paper to paint my bits and pieces on. They peel off without sticking.

Supplies:
ArchTop House Silhouettes
Tiny Shingles Sampler Set
Forest papers by Stamperia
Acrylic paint marker (don't use the oil paint one.....it takes forever to dry!)
Stamped Brass Findings

Monday, April 6, 2020

Moving Day 2

I love making little houses. I especially love indulging my Baba Yaga obsession with houses that have feet. Recently I have been taking an online workshop with Michael deMeng on building Baba Yaga Birdhouses, so once again another great excuse to put feet on houses!
This is a 'Moving Day" house, the second in a little series I am slowly working on.
You can see the first one if you click HERE and some of the tips on how I put the house together  (which is very similar) and built the base.


Here is where it began......
 This comes in a set of two, but I only used one this time around.
 The skeleton legs came from a Halloween skellie garland I got from a craft store.
I glued the legs on using Aleene's Turbo Tacky glue and then did the same for the arms.
Note: This is AFTER I glued down all the papers!
When the glue was al dry, I glued the whole shebang sown on the base, which at this point is also covered top and sides in either paper or paint.
I drilled a hole through the center on the roof ridge for a wire.
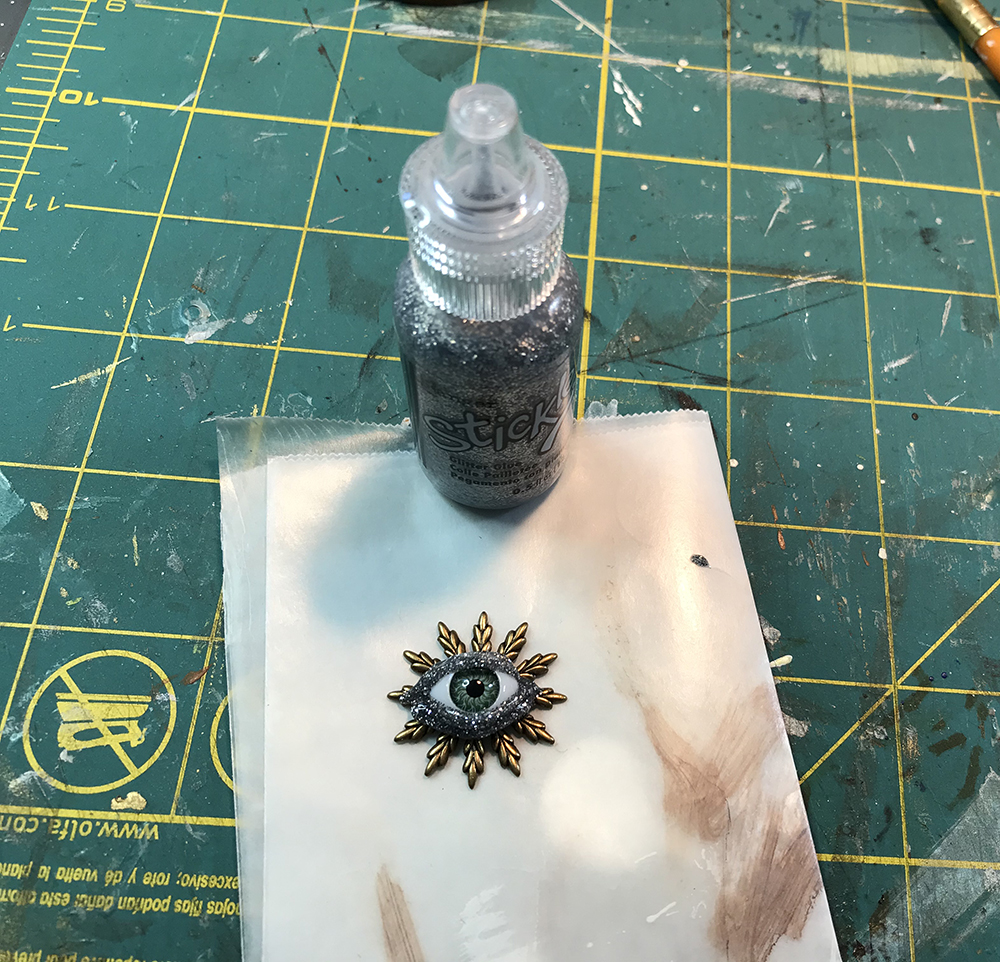
I glued an eye on a stamped brass flower and using paint, I painted an eye lid on it.
It just looked too naked.
I glued the eye to the wire. I glued a row of shingles at the top of the roof on both sides, glued in the eyeball stick and aged it up with a little Quinacridone gold paint.

I cut out some mushrooms from some charming Graphic 45 paper called Fairy Dust and put them in wee pots.
Added a bit of moss and a few details and away we go. Moving our mushrooms to a shadier place perhaps?

Thank you for stopping by!

Supplies:
Tiny Little Shadowbox Houses 2
Artist Trading Coins
Tiny Shingles Sampler

Graphic 45 Fairy Dust papers
Scraps of unidentified bits of paper for the roof and the base.
plastic skeleton parts
brass stamped flowers
little wooden flower pots
acrylic paints.
plastic eye ball

Tuesday, March 3, 2020

Be kind to your sleeping heart

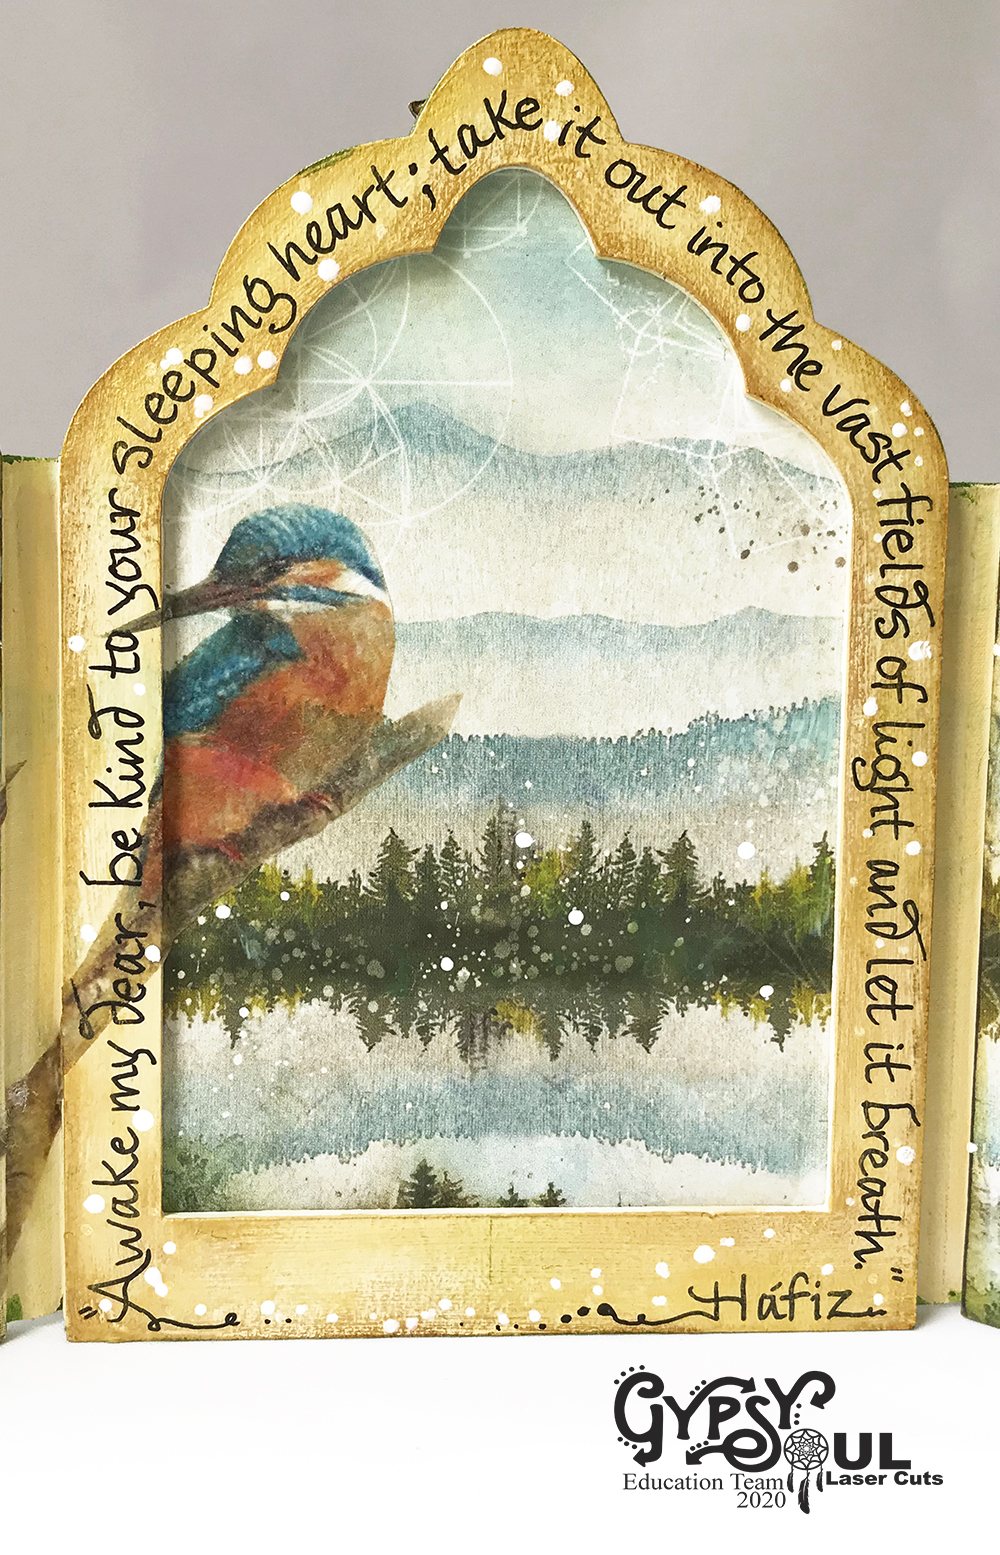
Sometimes we all need to remember to be kind to ourselves. To go out into the world, take a deep breath and reconnect with the bigger picture.
This week I've used the Vintage Triptych Florentine to make a peaceful and (hopefully) charming little reminder to do that.

Here is where I started...

I used the Vintage Triptych Florentine and Stamperia's 'Forest' Scrapbook papers.

Using the pieces of the triptych, I drew and cut out the papers I chose for the front and the back of the piece.

I used linen hinging tape to connect the triptych. I like taping both front and back, it makes a nice strong connection and remains flexible. I left about a 1/4" gap between the side and the middle to account for the addition of the scrapbook papers and still allowing for the piece to close properly.
Make sure your pieces are the placed straight across the bottom, otherwise when you stand the triptych up, it will be wobbly.
The above picture shows the first two pieces of tape already applied.

When I apply the second pieces of hinging tape, I use a folding tool or even a ruler (whatever is handy) to press the tape into the center of the 'hinge' before I stick it down to the side and center piece. This way there will be no gaps, the tape stays together and looks tidy.

I glue my papers down on both sides of the triptych. I painter the center frame cream and glued it down. I used a gold ink pad and a brown one around all the edges of the triptych.

The Kingfishers came from a rice paper collage sheet. I cut them out and attached them using matte medium. (I used Liquitex Matte Medium)

Using a piece of tracing paper, I practiced writing my quote and working out the placement of the words.....

I used a permanent black marker and wrote them over the arching center, used matte medium over the top of the words and after it dried, I inked up the words to soften the black words an dhelp them become a part of the whole.

After the inside dried, I flipped the piece over and glued a soft velvet ribbon the the center back piece ONLY of the triptych. I made sure the ribbon was high enough not to block the image of the fox. (which I cut out and glue in place from a piece of the paper collection and forgot to take a picture of)


I glued two pretty brass stamped leaf ornaments on either side of the front flaps of the triptych and added white paint dots as extra detail to the inside and the outside of the piece.

And there you have it! Thank you fro stopping by and don't forget to breath!

SUPPLIES:
Vintage Triptych Florentine

Additional supplies:
Stamperia 'Forest' scrapbook papers
Ciao Bella Rice Paper Collage sheet (the kingfishers)
White paint
Ink pads
Black permanent marker
Velvet ribbon
Brass stampings


Tuesday, February 18, 2020

Something Cheerful

Hello everyone! Lora here taking my turn for the amazing Gypsy Soul Laser Cuts.
Just a little something cheerful to ward off the February chill. Hope it brings a smile to your face!

  And a back view.....

I began with the Little Niche Sunflower.


Using the flower head a s a template, I cut my paper and then bent the niche box into shape for gluing.


I glued the niche box and used clips to hold it together while it dried.

Using two of the same image, I cut one to be a background for inside the niche, and fancy cut the other to glue in on top to create depth.

 I glued the niche box on to the back of the sunflower, taking care to line up edges and the clipped it into place until it dried.


I glued the background into the niche and added a border around the where the flower meets the box. I used watercolor pencils around the edge of the paper border and gently dry-brushed the lines outward, creating a soft edge around the paper.


 I glued in the fancy cut image bits on to the background, using small beads to lift them off the base image and make the piece look a bit three dimensional.
I inked the edges of the flower petals, using a q-tip to blend with.


I added brass flower to the corners and little dots of pearly paints for extra detail.

When all was dry, I flipped the piece over and painted the back. While it was drying, I strung some beads on a pretty piece of ribbon and glued the whole thing on to the back, using a pretty fairy image to hold it in place.

Don't forget to sign your piece!

SUPPLIES
Little Niche Sunflower
Graphic 45 Fairy Dust Papers
Folk Art Pearl Paints
Lyra Rembrandt Watercolor Pencils
Brilliance Ink Pad in Rocket Red Gold
Ribbon
Beads
Swarovski Flat Back Crystals (in the center of the brass flowers)
Stamped Brass Flowers

Thank you for stopping by!