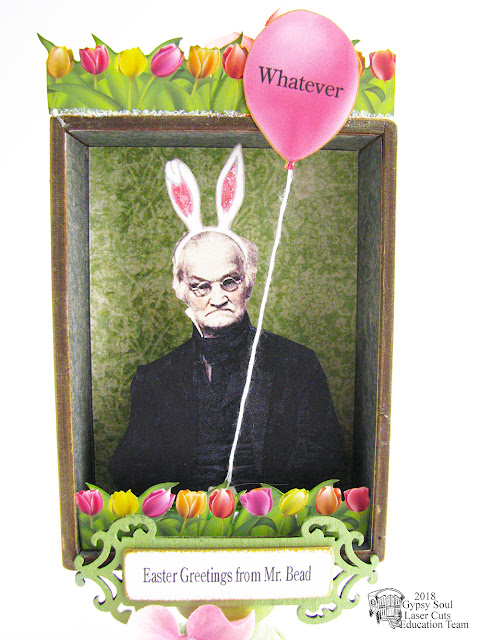
Yep. Our favorite rabbit (no, not bugs) the Easter Bunny!
And look! Here he is decorating his little fluffy tale into a fuzzy frenzy.
He's even got a little wee peep fan-girling all over him as he works. Stick around, you might learn something, kid.
A view of the front cover....
I began with the Mini Shadowbox-3.5x5.5. I glued it together......
I measured and cut all my papers for the piece, inside and out.
I glued them all into place EXCEPT for the piece on the inside of the door.
I measured and cut a piece of linen hinging tape and put that in place, making sure it was even and the lid and box were lined up straight. Make sure you leave enough space between the lid and the box to allow it to close properly. Adjust the tape as needed than apply pressure to afix the tape.
The main image used for the inside of the shadowbox is from the Bunnies and Violets Collage Sheet. I fancied him up with lots of glittah!
Here is what the inside of the shadowbox looked like before I added the images and final details...
You can see the progression of steps, from gluing in the Sheet Moss to adding the white-painted spool used to rest the Miniature Wicker Basket on.
I added little flowers to the outside of the basket and glitter centers to the flowers, a Blue Speckled Plastic Egg got a light dusting of glitter as well.
Flowers went on the inside cover as well to hide the back of the banner that is glued on the outside cover.
It's all so dang springy and Easter-ish.
I may have to do something for Halloween now, just because I feel the need to counter balance the pastel explosion.
But wait!!!
Just when you thought the cuteness was too much to bear, here is something that will throw you into a sweetness overload..
How about a little blue bunny? Hmmm?
Dang it.
I couldn't help myself. The little guy was irresistible.
Same steps apply for putting the box together and doing the papers.
The difference here is that I glued the top on, so it does not open up. Here's what I did on the inside...
I glued a strip of blue spotty paper down the center of the box, piped some Cinnamon Stickles around the edges.
I cut another piece of blue spotty paper and inked up the edges, adding wings to the cute bunny (from the Happy Easter Collage Sheet)...
I glue a strip of cardboard on the center of the piped strip of paper.
Then I glued in the inked piece of blue paper. I like the little bit of depth and shadow it creates.
Then the bunny was glued in and the cover glued on. More stickles was piped on the front and a pretty flower from the Vintage Velvet Hydrangea Picks was attached.
Cuteness happened!
For a complete link to the list of supplies used, click HERE
SUPPLIES LISTS:
Easter Shadowbox:
Mini Shadowbox-3.5x5.5
Easter Covers for Mini Shadowbox (large rabbit)
Bunnies and Violets Collage Sheet
Happy Easter Collage Sheet
Stickles-Firefly, Waterfall, Lavender and Pineapple
6x6 Cottontail Paper Pad
Double Dot Powder Blue Scrapbook Paper
Mini Fuzzy Yellow Easter Chicks
Miniature Wicker Basket
Wood Mini Spools (substitute)
Blue Speckled Plastic Eggs
8mm White Pearls (flower centers on top of box)
Sheet Moss
Additional supplies
various paper and silk flowers
vintage photo stamp pad
linen hinging tape
Little Blue Bunny:
Mini Shadowbox-2x3
Easter Covers for Mini Shadowboxes (small egg)
Happy Easter Collage Sheet
Just Wings Collage Sheet
Stickles - Cinnamon
6x6 Cottontail Paper Pad
Vintage Photo Ink Pad
Vintage Velvet Hydrangea Picks-Sage
Thank you for dropping by!


