Y'all, it's hot here in the south. I mean, really hot right now. And sticky.
Sticky on top of sticky.
So I have rejected the reality of the dog days of summer and have plopped my backside down in the air conditioning and have been making Christmas ornaments.
Yep.
Pretty, cheerful I-am-so-tired-of-hot-and-sticky-wanna-move-back-to-Alaska damn Christmas ornaments.
Actually, some of them are just wintery and can be hung/displayed for the whole season.
Here is a picture of all of them together.
They look so nice all together!
The top three with the Christmas goodies are made with rice paper and Chunky ATC's and I decided I liked them as magnets.
The middle four are (again) Chunky ATC's and are nature oriented so you can leave these up all winter.
The bottom is a cute little Christmas garland made with Artist Trading Coins.
I have to share that tinsel in August just makes me happy.
Sorry Summer. Though I am still enjoying my vegetable garden, I sure
would appreciate it if you would LIGHTEN THE HELL UP with the humidity.
Ahem. (smooths down wildly frizzy hair)
Thank you.
Here are some fast tips on a couple of the things I did to each group that might help you out if you decide to flip the bird at summer and make your own Christmas/winter ornaments.
Rice Paper Christmas Magnets:
I love rice paper so much. If any of you has ever used napkins to collage with, peeling off the two extra layers of ply and gently brushing matte medium on the fragile surface of a single ply whilst trying to avoid air bubbles and wrinkles is sometimes quite trying.
Getting the bubbles out without tearing the surface too much is also a challenge.
Rice paper is much stronger than a napkin, but still has the translucence.
It's so much tougher, I have used sticky glaze and acrylic paints on them instead of matte medium and they don't dissolve like a napkin would.
When I made these magnets, I painted the ATC's white so that the colors would pop when I glued down the rice paper.
I painted a thin layer of matte medium on the ATC and laid the rice paper on top and then painted another layer of medium on top of the rice paper. You do not have to wait for the bottom coat of medium to dry before you put the top layer on.
And there is much less wrinkling and air bubbles. If you do get them, they are easy to fix if your matte medium hasn't set yet. After they dry, I use a sanding block (fine grit from the hardware store) to sand off the extra paper and give the ornaments a smooth edge.
I love these! After the medium dried, I added ribbon around the edges, lots of sparkly Stickles and glued a magnet on the back. They are easy and fun and glittery.
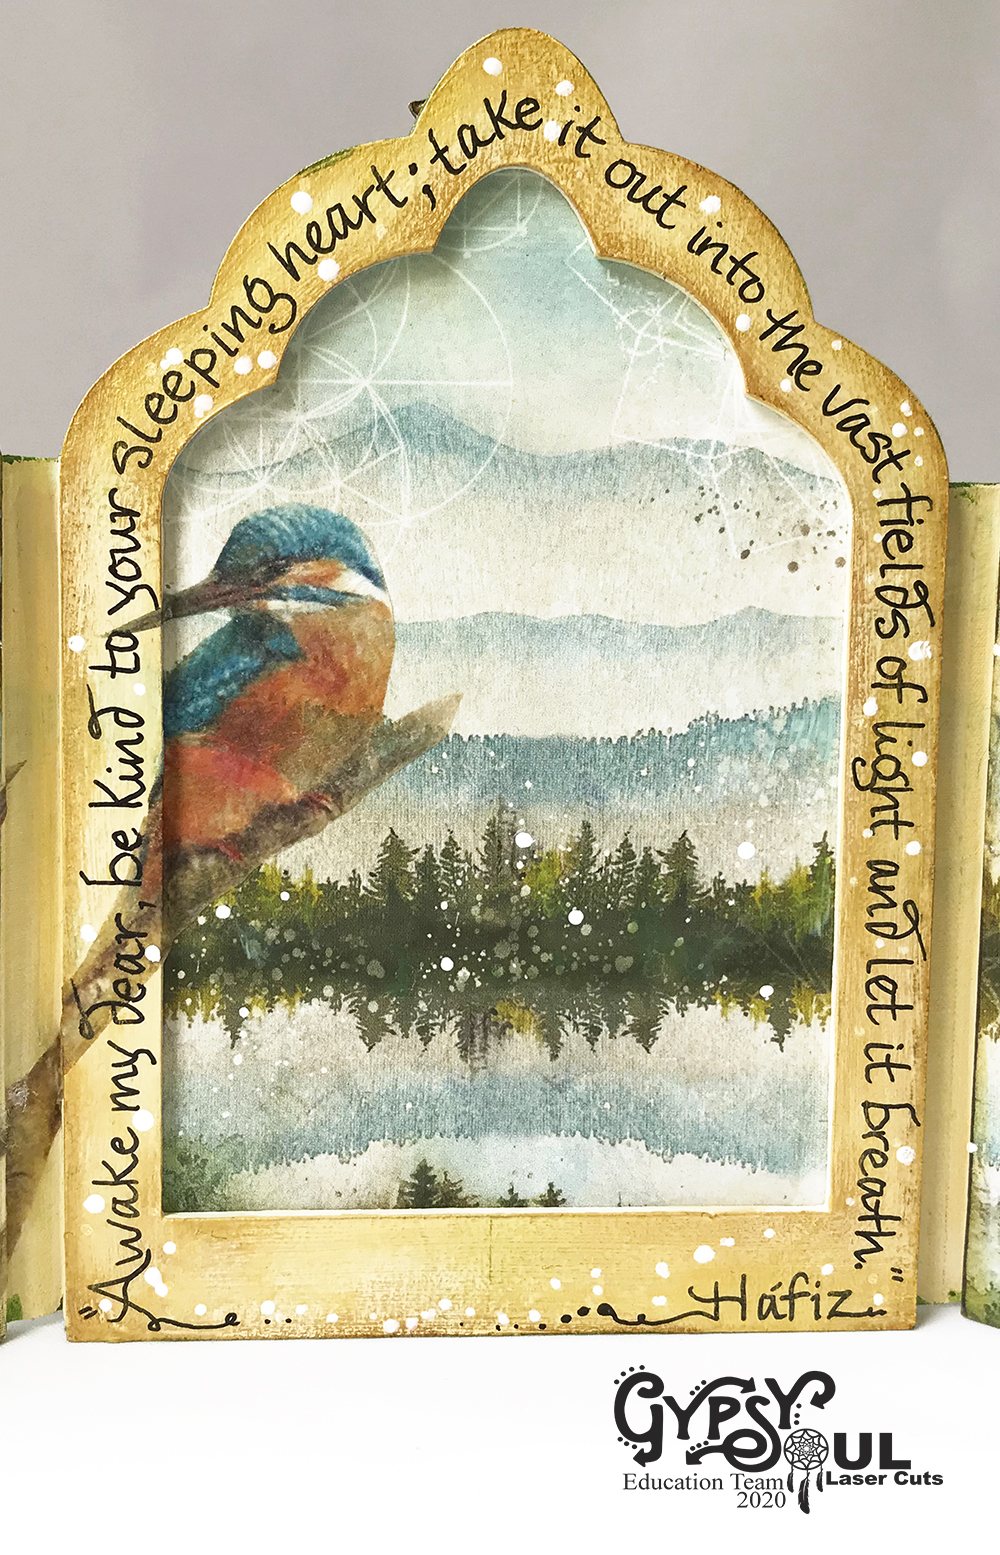
Winter Ornaments;
So peaceful and calm. And once again easy-peasy!
For these ATC's, I cut and glued papers on all the backs and a layer of background papers on the fronts.
I cut out the images I wanted to go on the front and set them aside for the moment.
I cut ribbons to the length I wanted the ornaments to hang and set them aside. (make sure that you cut enough length that the ribbob extends down to at least half the length of the ATC)
I laid a squiggly line of glue down the front of the ATC.....
Then stuck ribbon down on top of the glue squiggle. I then applied a thing layer of glue to the back side of my chosen image and stuck that down on top of the ribbon, making sure it was centered on the ATC.
I like doing ribbon this way versus attaching it from the back. It's simple and can actually keep your ornaments from hanging wonky if you've got a bit of weight hanging off the front of your piece.
I cut out some words that were meaningful to the image, inked the edges and glue them on. And, of course, added a lot of sparkle!
Artist Trading Coin Garland;
Basically the same techniques I used for collaging on the Chunky ATC's above, but with a couple of little tips:
I used this
Tinsel for the edges around the coins and it has wire in it. I discovered that I could remove the wire and the tinsel stays intact. This makes it so much easier to glue around a circle! Save the wire you remove....it will most likely come in handy for another project.
The other thing I did was beaded the green and opal beads on to a head pin (the kind you get from the sewing notions section of the craft store) and using a thimble on my finger, stuck the pins right into the side/edge of the chipboard. If you are not comfortable doing this, you can make you garland two coins thick and glue the pin and beads between the layers.
And one more thing.......
When you glue the ribbon on to your coins, glue it on near the top of each one, that will keep the garland from flipping around too much.
I loved making Christmas ornaments in the dog days of summer, I hope you do to!
For a complete list and links to all the supplies used in these projects, click
HERE
Supplies:
Chunky ATC Blanks
Artist Trading Coin
Patisserie Rice Paper (Stamperia Vintage Christmas)
Winter Botanic (Stamperia)
Christmas Vintage ( Stamperia)
Tinsel (gold and red)
Stickles in Diamond, Christmas Red and Lime
Ribbon in Pink and Red
Beads
Head pins
Thank you for stopping by!